
My biggest achievement in cake baking life - My very first Volcano cake. I am so happy that it turned out great! I have been praying very hard and God has answered my prayer. Well, I really want to give a very big THANK YOU to the Mycupcakeaddiction, without her tutorials I don't think I can do this.
Mycupcakeaddiction mentioned that it is good to use mud cake as it is dense and easier to manage and I foudn this amazing recipe from thrumykitchenwindow. I really love this recipe. The only thing that I change is the cooking method which I used the tenting method and I baked it for 2 hours at 140'c and 150'c for another hour .
The Very Best Chocolate Mud Cake (adapted from Family Circle)
(I doubled the portions for my cake base)
250gm butter
250gm dark cooking chocolate
2tbsp instant espresso coffee powder or granules
150gm self-raising flour
150gm plain flour
60gm cocoa powder
1/2tsp bicarb soda
550gm caster sugar
4 eggs
2tbsp vegetable oil or light olive oil
125ml milk
Chocolate Ganache
150gm dark cooking chocolate
60gm melted unsalted butter
Instructions
Grease a deep 23cm round cake tin. Line the base and sides with baking paper, making sure the paper extends well above the top of the tin.
Dissolve the coffee in 185mls hot water. Put the butter, sugar, chocolate and dissolved coffee and water in a pan. Stir over a low heat until smooth, completely melted and well incorporated. Set aside.
Sift the flours, cocoa and bicarb of soda into a large bowl. Sift a couple of times. Make a well in the centre.
Add the combined eggs, oil and milk; using a large spoon or spatula mix well into the dry ingredients. Add half the cooled melted chocolate mixture; stir well till there are no lumps. Add the remaining half; make sure the mixture is well combined. It should be of a pourable consistency.
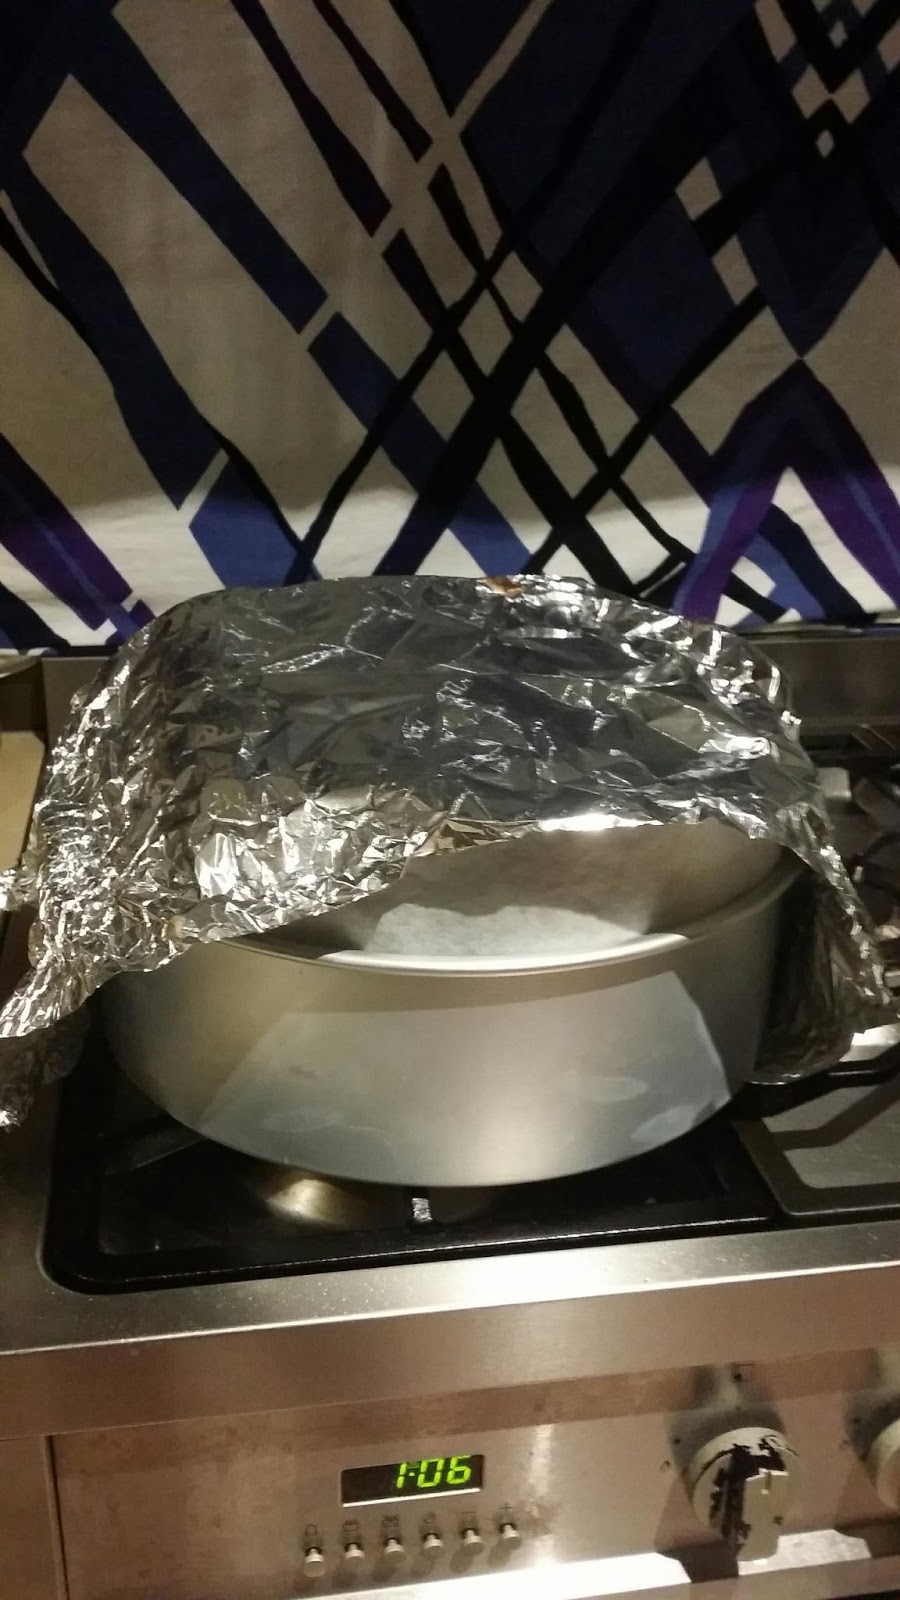
Pour the mixture into the carefully lined cake tin. Place into a preheated oven set at 130 - 150degrees celcius. No higher. I feel the mud cake requires baking a bit like a christmas cake; long, slow and low heat. Bake for approx 1 3/4 hours. It is not unusual for the top of the cake to develop a crust or for the centre to be slightly sunken. Place the cake on a rack; leave in tin until completely cold. Once cold; cover securely with a tea towel. Leave overnight.
Turn cake out, remove all of the lining. Examine the cake. You want a level cake when it comes to decorating; therefore if it is not even it may be necessary to slice off some of the crusty bits until it is level with the centre of the cake. Sometimes the cake may have a slight rise. In this instance simply cut off the risen bit in the centre. Sometimes you won't have to do a thing.
Once you have achieved a flat, top surface, turn the cake upside down. It is wise to do this on the serving plate with some cutouts of baking paper around the edges and under the cake. This alleviates any messiness and once the icing becomes firm, the baking paper can be removed leaving your cake looking immaculately decorated.
In a small glass bowl over a pan of simmering water, melt the chocolate. Do not overheat. In another bowl, melt the butter in the microwave. Once again, do not overheat or 'sizzle' the butter; just till almost melted. Pour this into the melted chocolate and slowly incorporate the two together. Stir until well combined and you have achieved a nice glossy, pouring chocolate.
Pour ganache onto the centre of the cake. Using a spatula or a knife, spread the ganache all over the cake. If the weather is hot or humid you can take a little more time to get it right. If the weather is cold you may have to work more quickly as the chocolate ganache may begin to harden.
Allow the topping to set at room temperature. If at any time you place it in the fridge you will lose the glossy shine. It won't affect the taste, it just won't look as silky smooth.
This cake keeps moist easily for about two weeks.

Leveling the cake
Well I tried using the second method mentioned in Veenaartofcakes's blog but it was too hard. I used the good old method - the cake leveller which works great!

Icing the cake
I used the upside down method illustrated by notquitenigella to ice my cake. There are some good tips in Goodfood blog on cake decoration as well. For the cake frosting recipe, I used the Crusting Cream Cheese Frosting by theflavorblender.
Crusting Cream Cheese Frosting
from theflavorblender
Ingredients
- ½ cup (125g) vegetable shortening softened
- 1.25 lb (567.5g) cream cheese, softened
- 4 oz (113g) softened butter
- 1 tbsp vanilla extract
- 3 lbs (1360.76g) sifted confectioners sugar
- 1 teaspoon salt
- 1 tbsp Lime/Lemon Juice
Beat the butter, shortening, cream cheese, lemon juice and salt till they are creamed well.
Mix in the vanilla.
Gradually add confectioners sugar a little at a time while the mixer is on low. Once all the Icing sugar is added and mixed - increase the speed to medium till the mix is smooth and fluffy.
For a fluffier consistency you can add less sugar, and for a stiffer frosting add more confectioners sugar.

My volcano cake - I used the big cupcake mould. The instruction to assemble the cake can be viewed at mycupcakeaddiction.


The volcano's lava recipe
I used the recipe from mycupcakeaddiction
White Chocolate Ganache Recipe:
- 700g / 25oz White Chocolate
- 300ml/g / 10.5oz whipping cream (35% milk fat)
Method:
I prefer the microwave method because I'm impatient and have a habit of walking away from stovetops and letting the chocolate burn or the cream boil over... Thats just me, but here are your two methods for making ganache:#1: Microwave
- Combine chocolate and cream in a heatproof bowl (I altered the recipe by combining the gel colour to the cream before I added the chocolate)
- Microwave on high for 1 minute interval, stirring for 2 minutes in between
- This should take 2-3 minutes max
- Stir until there are no lumps

Fill the lava into the 'throat' of the volcano. Then put a plastic shot glass and push it into the lava. The lava will start spilling over the volcano. I used a container cover to weigh on the cup so that it will sit in the volcano. Once the 'lava' is set, the cup will be sitting where it belongs.

I added some icing on the base cake where I want the volcano to sit on. This is to hold the volcano to the base cake.

Once the volcano sits perfectly on the cake, start decorating it!

Add some dry ice to into the plastic cup and add a few drops of hot water to create the 'ash cloud'.

This is my Volcano cake and happy baking!
